VPN is a great, easy to use tool to maintain your online anonymity and privacy. Just a click and you’re connected to a VPN server with a brand new IP address. But then there is DNS leak which is an actual nightmare for anyone who is concerned about staying anonymous online. You might think to yourself “I’m using reliable VPN software. The danger of being monitored by my ISP is way behind me.” But did you know that due to DNS leak, your ISP still can observe your online activity?
So, What is DNS Leak?
To fully grasp the idea of DNS leak, you first need to get a clear definition of DNS and its function. DNS stands for Domain Name Server. DNS’s job is to translate a URL or a domain, such as bvpn.com, into a digital IP address. Whenever you use your browser to open a certain website, it sends a request to a DNS server with the website’s URL that you’ve inserted to translate the URL into an IP address. Then the DNS sends the data back to your browser to connect to that IP address.
Your Internet Service Provider will assign you to its own DNS servers. But when you have established VPN connection, the DNS request sent from your browser should be routed through VPN tunnel and directed to your VPN service provider’s anonymous, and of course more secure, DNS server rather than being directed to your ISP’s DNS servers. This is how your ISP won’t be able to find out which websites you visit and hence you’re preventing your ISP from observing your online activity.
However, what actually occurs when there is a DNS leak is that your browser will ignore the fact that you have an established VPN connection and will go through the usual procedure of sending the request to the DNS servers owned by your ISP not your VPN. The main purpose of utilizing VPN in the first place is killed!
How Does DNS Leak Occur?
DNS leak is more likely to occur if you’re running Microsoft Windows since there is a corrupted Windows system file that forces browsers to use default settings. However, you can never say that it is exclusively associated with Windows as in many cases this has occurred to Mac OS and Linux users.
How to Diagnose DNS Leak?
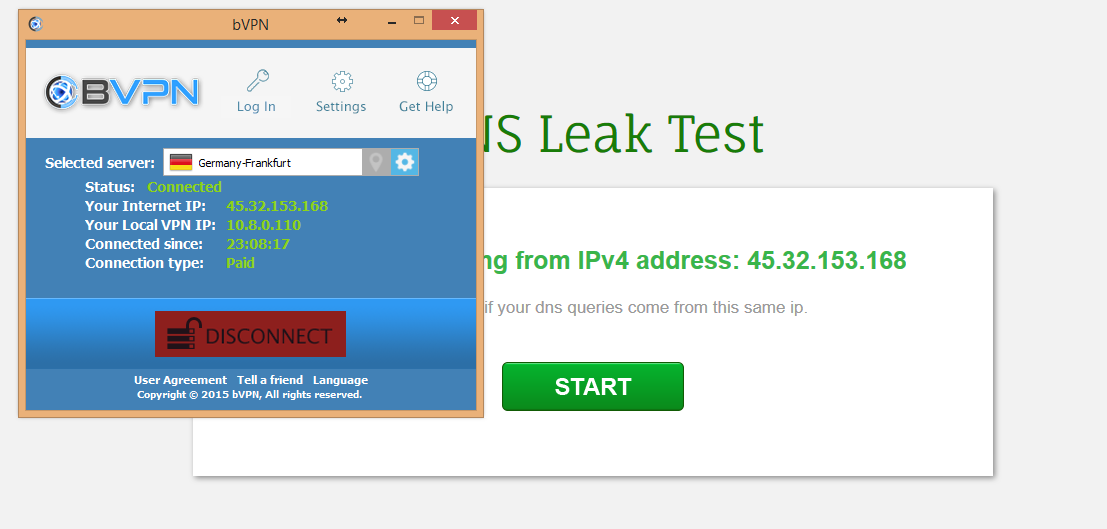
There are multiple websites that run DNS leak tests for free. Just make sure you’re connected to a VPN server and memorize its IP address. Run the test and if you’ve noticed that the results show your original IP address or your real geographic location or even your ISP name, this means you have a DNS leak.
How to Fix DNS Leak?
The easiest way to prevent DNS leak is to use a VPN client that has built-in DNS protection feature. This feature will monitor DNS requests sent from your browser and makes sure they’re being directed to DNS servers that belong to your VPN provider NOT your ISP. This feature is not available in many VPN clients in the market.
Try the new b.VPN version with automatic DNS protection option.
Other solutions include:
1. Manually change your DNS so you make sure that in any case your ISP’s DNS won’t be used even if you’re not connected to a VPN server. You might use a public DNS such as Google Public DNS, Open DNS or Secure Comodo DNS. However, this is not the best solution as you trust these services with your online activity especially since it has been revealed that Google was involved in the recent NSA spying scandal.
Click here to find out how change your DNS server if you’re running Windows.
2. Install a strong firewall but make sure to allow b.VPN to work through it.
3. Disable IPv6. Tutorial with screenshots.
4. Use VPN monitoring application, a bit pricy though.
bVPN DNS have proven not be leaking tested by https://tekcompare.com/


